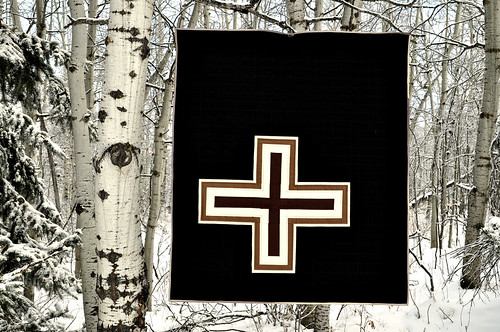
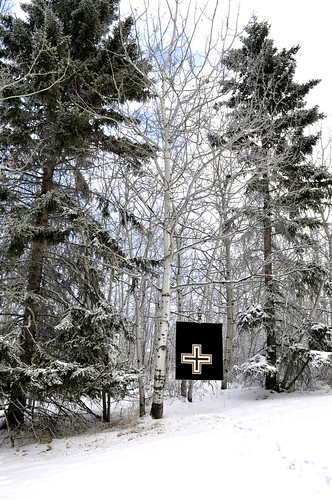
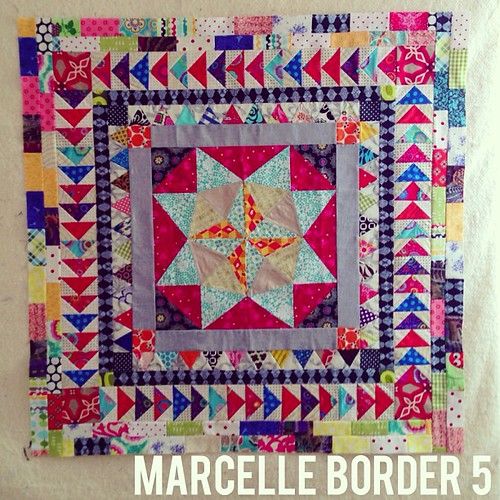
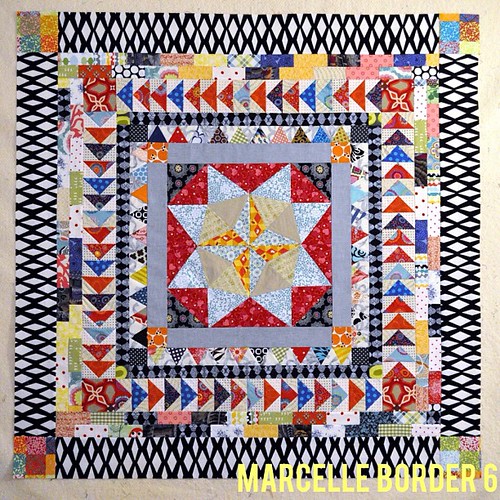
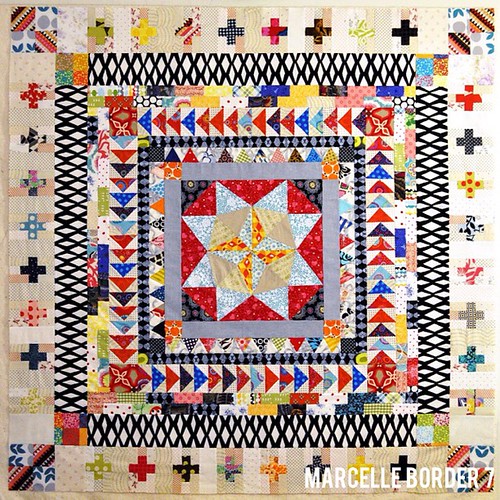
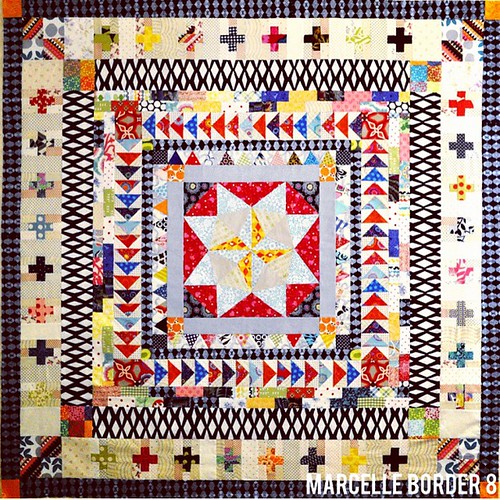
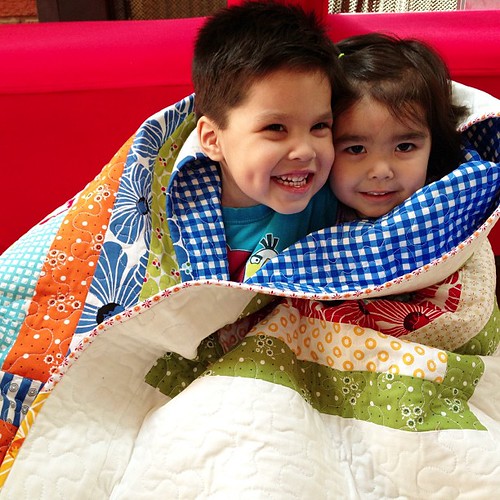
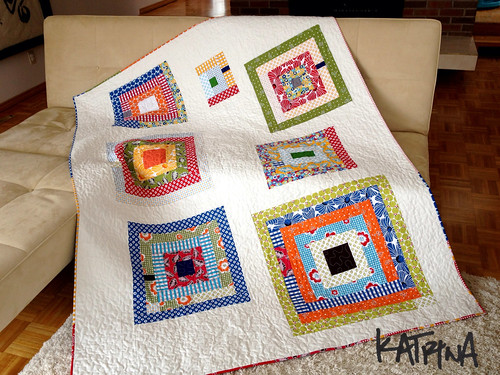
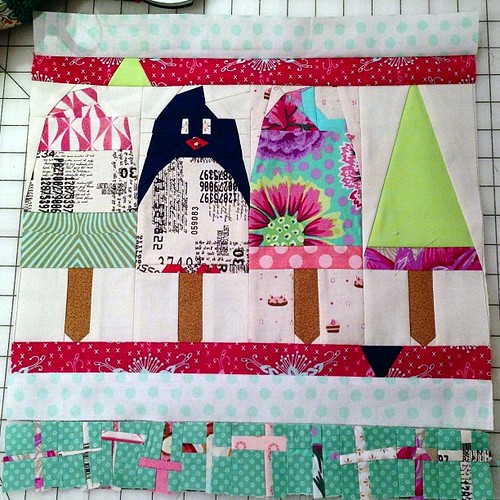
Here is my newest quilt, the Tree of Life Quilt. It is my modern interpretation of a traditional Navajo rug design. I paper pieced many of of the elements and machine pieced the top of the quilt together. It was quilted by my friend, the talented Andrea Harris of Urban Quiltworks, Calgary, Alberta, Canada. It will be on display at the Calgary Stampede 2014 Western Arts and Crafts Showcase.
Showing posts with label katrina hertzer. Show all posts
Monday, June 23, 2014
Sunday, March 23, 2014
Seven Point Star
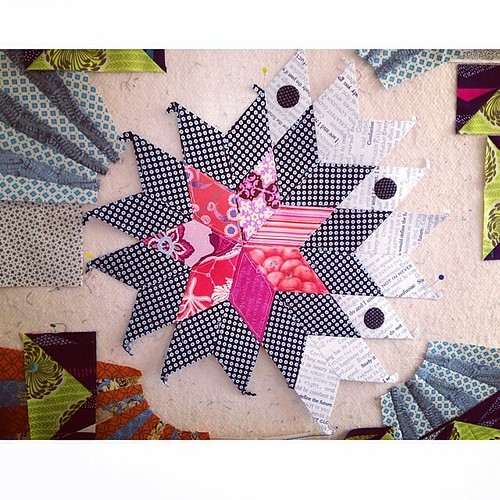
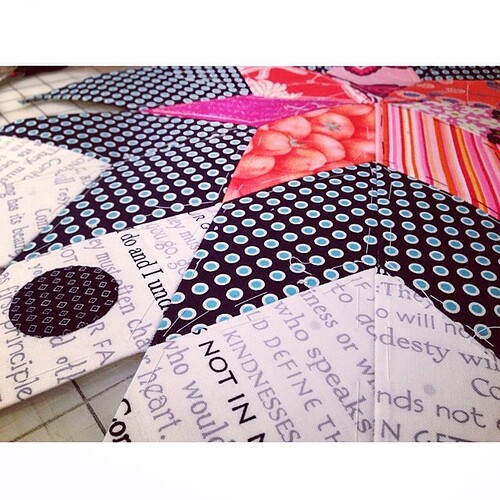
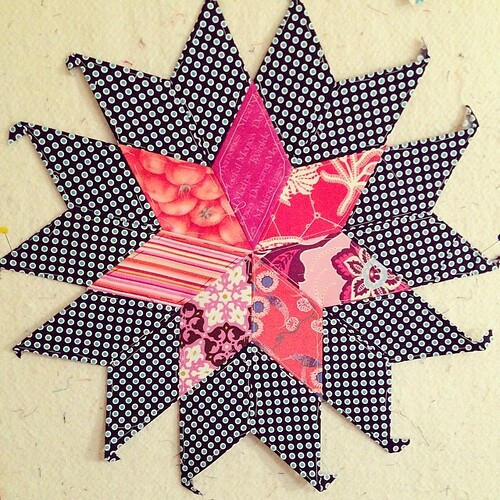
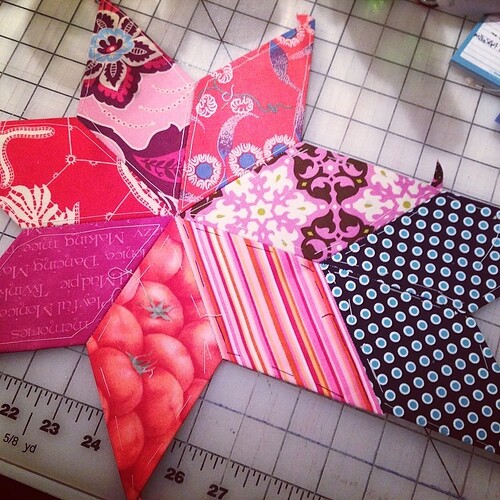
Here is my latest project, a seven-point star! I'm really enjoying the EPP (English Paper Piecing) technique and sewing the pieces by hand.
I am excited to add some small applique details as I go, I hope they will add interest and help me make this truly one of a kind.
I had to piece three small scraps together to finish one of the navy points. I don't think it is too noticeable. Thankfully I had just enough!
I was questioning the scrappy pink center, but am loving the choice more and more. I think it helps add some movement. Thank you for looking!
Tuesday, March 18, 2014
Boxed Zip Pouch Tutorial
Hi! I'm Katrina from Nizhoni Workshop, the small blog where I share my projects. I'm a mother of three young children and I love to sew and create. My passion is patchwork and I'm a member of the Calgary Modern Quilt Guild. I love bold pattern on pattern, anything Tula Pink and am currently in love with medallion-style quilts. I enjoy creating designs which incorporate my Navajo heritage and love of modern quilting.
Today I'd like to show you my method of creating a boxed zip pouch. There are many ways to achieve a similar result and I won't be recreating the wheel. This is simply my way of sewing that takes minimal effort to achieve a great result.
The supplies you will need for this tutorial:
Fabric (for this tutorial we will be using Sew Sister's November 2013 Kona Cotton Solids Grouping)
Lightweight Fusible Interfacing
one 14" to 18" zipper
Warm & Natural Batting (or similar)
3" of woven tape or ribbon for tabs (not shown here)
Basic sewing notions and tools
Please start by pressing your fabrics.
Choose one fabric as your lining. Cut a 10" x 11" piece. Cut and fuse a 10 x 11" piece of lightweight fusible interfacing to the wrong side of lining fabric using the fusing instructions for your interfacing. Set aside.
Stack remaining lining fabric with the other three solids, cut strips of random widths using your scissors or rotary cutter. Cut three or four strip stacks.
Randomly choose strips and sew together. Keep sewing together until you are satisfied. Now, try cutting the piece in half and sew back together so you have more of a "rectangular" shape.
Now try adding strips going different directions. Using small bits of color here and there can make it interesting, you could also use small fussy cut pieces of fabric to showcase. However, for this tutorial I am using solids.
Keep adding until your rectangle is a little larger than 10" x 11".
Lay your interfaced lining piece on top of your patchwork and trim patchwork down to size. Using a couple pins helps keep the materials from slipping. Set aside your lining piece again.
Take your patchwork rectangle and lay down on a small piece of Warm and Natural or similar batting. I trim to about 1/2" on each side. You can choose to use basting spray but since this project is so small, it won't be necessary.
Randomly straight stitch up and down and across your patchwork to quilt. You can also free motion quilt if you prefer.
After you are happy with the quilted lines, lay your lining piece back on top, right sides together, of your quilted patchwork and trim to size of lining.
Keeping your zipper closed, lay zipper facing down on top of the quilted patchwork top edge (10" side).
Lay the top edge of the lining, interfacing (wrong) side up, on top of the zipper and patchwork piece. Pin at ends and once in the middle at least. I also like to use a JEANS needle in my machine because these layers are bulky and I hate finding skipped stitches. Using a zipper foot is not necessary as the layers are quite thick and you will hardly notice a difference.
Take your time and sew a 1/4" seam. Remove pins as you sew.
Open your seam and press open. Be careful not to melt your zipper.
Top stitch close to the edge, about an 1/8th of an inch away.
Now fold over the quilted patchwork layer so right sides are facing each other, fold the lining to the back, right sides facing each other. Align all edges to the top of the zipper.
Pin on the ends first so the edges are aligned. Pin middle area.
Sew a 1/4" seam, removing pins as you go.
Open zipper and open seam and press carefully. Top stitch and 1/8" away from edge like the other side.
Close the zipper (lining facing out) and use a pin to hold place and make with a water soluble marking pen or chalk. Or finger press. Do the same for both sides.
Lay your zipped bag so the zipper pull is on your left side, we will work with the right side (with the zipper stop) first. Take your woven tape or ribbon and cut to 1.5" length and fold in half. Center the tape on the mark and pin.
Make sure the cut edges are aligned with the edge of the bag. Stitch in place 1/8" away from the raw edge.
Align the mark over the top of the zipper and pin along the edge. (Make sure that the first side you sew is the side WITHOUT the zipper pull)
Sew a 1/4" seam along the pinned edge. When you sew across the top of the zipper go very slowly and back stitch a couple times. Cut off the excess zipper. Zigzag your raw edges so they are nice and neat.
Now, working on the other side, slightly pull the zipper open.
Holding the zipper as closed as possible, stitch SLOWLY back and forth across the zipper about 1/8" away from the raw edge of the bag.
Trim the excess zipper end. Repeat the steps for attaching the woven tape again for this side. OPEN your zipper now. Align the zipper over the middle of the tape and pin. Before you stitch the seam, please ensure the zipper is open. Sew the seam as you did for the other side.
Here is your pouch! Now to box the sides.
Using a temporary marking pen or chalk, carefully mark about 1.5" from the edge along the folded crease for all sides of the bag.
Open one side of the box like the photo below. Align the pin on the front with the mark you made on the back.
Using a cutting mat or ruler, align the point of the triangle like the photo below shows. The line I drew with the marking pen is 2" long.
Sew on the marked line back stitch at beginning and end. Trim excess fabric about 1/4" away from seam. Zigzag raw edges. Trim threads and remove the temporary marking pen or chalk lines. Repeat for all sides.
Your finished boxed zip pouch! Now turn the right side out.
Finished boxed zip pouch!
Please share your finished project pictures with me, tag me @khcalgary on Instagram or on flickr!
Wednesday, February 26, 2014
Patchwork Tsushin Magazine Vintage Girl Zip Pouch
Here is my finished Vintage Girl Zipper Pouch. This was a project featured in Patchwork Tsushin 6/2013. The yellow leaf fabric and blue fabric were provided with the magazine. I was fortunate to find a generous instagram friend who sent me the yellow First of Infinity word fabric by Kumiko Fujita which is really a hard fabric to find! I didn't use the Suzuko Koseki newspaper print for the back strip but rather used more FoI which I think looks amazing!
The front view
The back view
Inside view
As you can see the directions are shown in the drawings to the left. But it is written in Japanese and not too complicated if you go slowly and have previous experience with zippers.
Wednesday, February 19, 2014
Quilted Zipper Pouch
I just received some half yards of Tula Pink's Fox Field fabric yesterday and knew I had to make some thing fast!. I loved a small zipper cross-body pouch I saw in Patchwork Tsushin and decided to make a simpler version as a zipper pouch. I used fabrics from several Tula Pink fabric lines and paired them with a beautiful Kona Cotton. I won't ever be able to give this away. I love it so much!
Monday, February 17, 2014
Mini Camper Pincushion
How much do you love this pincushion? It's one of three mini camper patterns in Fresh Quilts Magazine Spring/Summer 2014 issue. These are really cute. While reorganizing my scraps I thought I should use some Tula Pink scraps to make this. A little bit of denim cut from jeans alterations made this a little more durable. I also lined the cotton side panels with a lightweight fusible to make it a bit more sturdy. All I need to do is search for some coordinating buttons for wheels and attach a handle for the door.
The pattern was a little confusing but I made the best of it. I absolutely love it!!!
Tuesday, January 28, 2014
A mini pincushion
Today I made a mini pincushion for one of the small compartments on my Poppin tray organizer. These desk accessories come in the most wonderful colours and this blue was my favourite. I decided to use scraps to make this.
I really love how the random patchwork makes an impact!
Of course my favourite part of the whole process was machine quilting the top. Thank you to all my new followers! xoxo
Friday, January 24, 2014
Sew Sisters Tutorial
Sew Sisters (an online and retail quilt shop located in Toronto) invited me to make a project using one of their featured Kona Solids Club Fat Quarter packs. I chose a pack from November 2013, which included 4 shades of beautiful Kona Cotton. Their Kona Club is available on a subscription basis. Each month you will receive four fat quarters of Kona Cotton, for $10.99 per month, which includes postage within Canada. How amazing is that? If you really want to build your colour stash, you can opt for the half yards of Kona Cotton for $21.99 per month. A great investment!
The project I decided to make and teach to you is my version of the boxed zip pouch.
This pouch can be made in a variety of different sizes, what I'm showing you is the basics of how to assemble it in the easiest way possible.
Please visit the Sew Sister's blog here to find all the details and instructions to make your own boxed zip pouch. Also, leave a comment on the Sew Sister's blog post to win your very own fat quarter pack that I used in this tutorial!
Please share your boxed zip pouch creations with me on Flickr (tag kcalgary) or on Instagram (tag @khcalgary), I'd love to see them!
Monday, January 20, 2014
Quilted fabric project
I took Angela Walter's craftsy class called Machine Quilting Negative Space and I loved it. I practiced my swirls and leafs on this piece of fabric and decided to make a zip pouch with it. I had a vintage metal zipper that fit perfectly and I really love the look. I won't be scared to try out new quilting styles on swatches anymore, now that they have found a use!
Parson Gray Quilt
I pieced this quilt top together using Parson Gray's Seven Wonders fabric. This was a fat quarter bundle I won from 100 billion stars blog last year. And of course in the eleventh hour began quilting it...
Hand sewing binding into the night on the 24th of December...
Finishing just in time for my brother to open on Christmas morning! He loved it.
My finished quilt...
Thursday, November 21, 2013
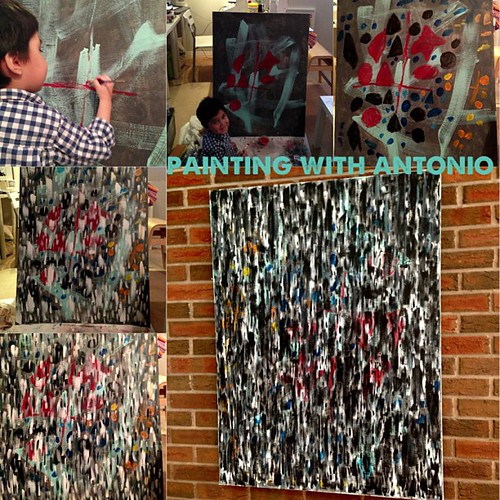
Painting with Antonio
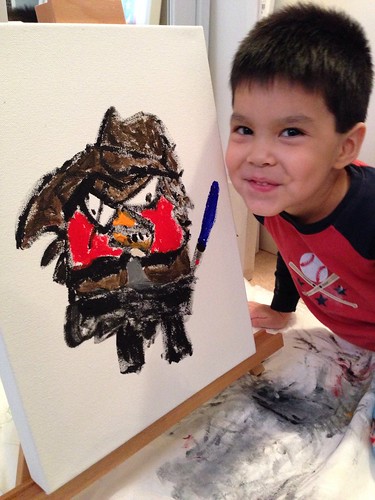
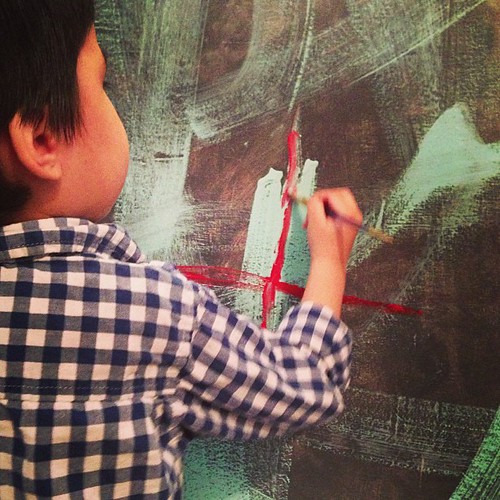
My oldest Antonio loves doing things with me. Today we decided to paint together since it is very cold outside. He chose to paint some of his favourite angry birds.
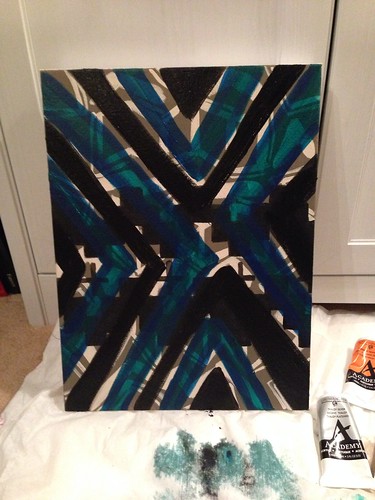
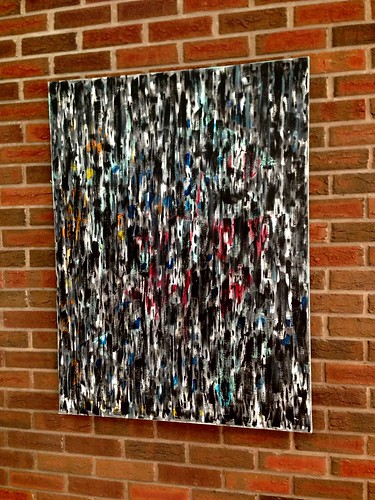
I chose to paint a random pattern.
I love painting when I run out of patchwork ideas. It really helps free up some of my best work!
Sunday, November 17, 2013
busy busy busy!
These winter months seem to be flying by! I have been sewing as much as possible in order to be ready. We are also having family come so I likely won't be sewing to the last-minute.
Here are some photos of my Starbucks gift card collection organizer. I made this for myself and absolutely love it!
Sunday, November 10, 2013
Biye' Quilt
This is my newest work Biye' quilt. The Navajo to English translation is "his son." This is a quilt for an old friend who is expecting her first child.
The quilt is backed with a soft and cuddly minky which will keep the baby warm during the winter season.
Wednesday, November 6, 2013
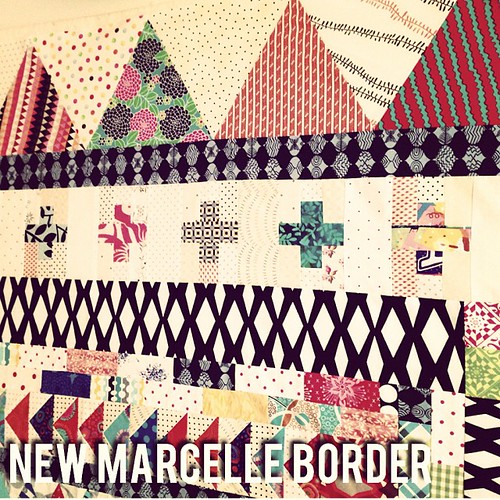
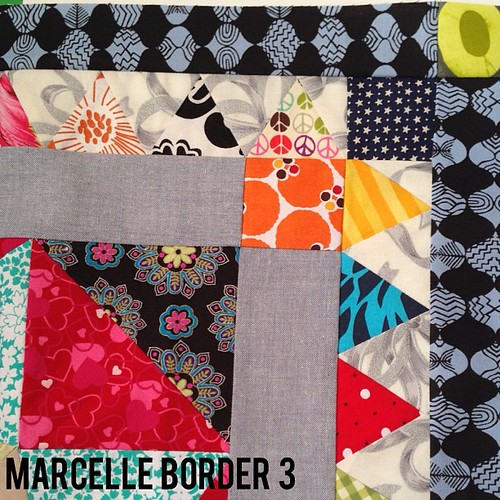
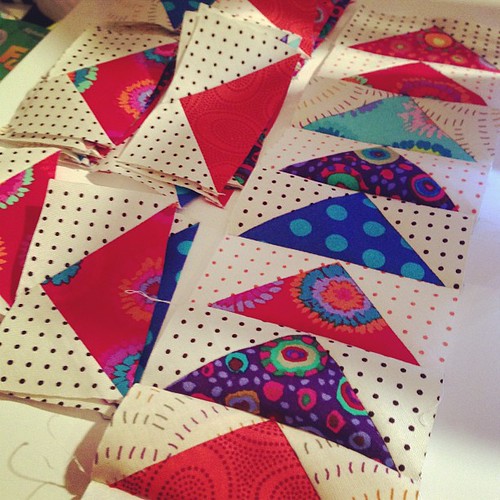
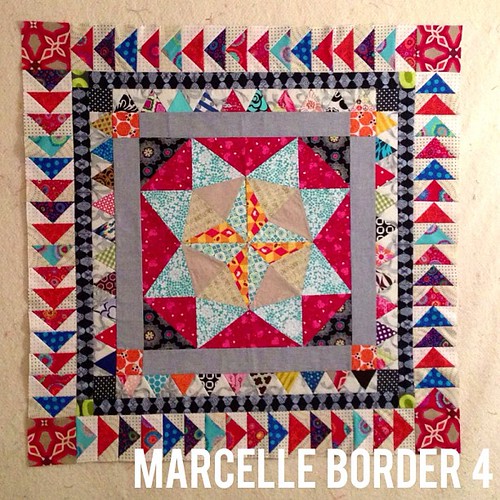
Marcelle Update
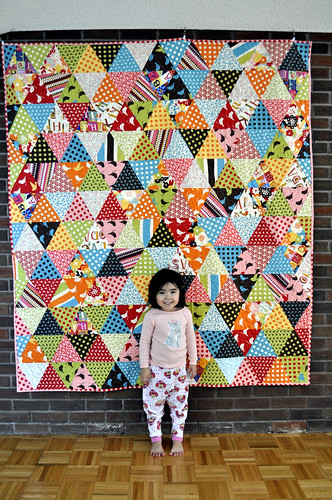
Equilateral Triangle Quilt
Monday, September 30, 2013
Marcelle Medallion Quilt by Liberty Love
Thursday, April 25, 2013
A Quilt for Leukemia and Lymphoma
A quilt I made a year ago finally is going to find a new home! My friend Stephanie and her friend Abe are working to raise $100,000 for the Leukemia and Lymphoma Society. Which is truly ambitious and exciting! I thought maybe this quilt could help them raise some funds. It's a bright and happy quilt and I'm excited to see it go! If you would like to find out more about their efforts, please visit this link.
Tuesday, April 23, 2013
Parisville Quilt
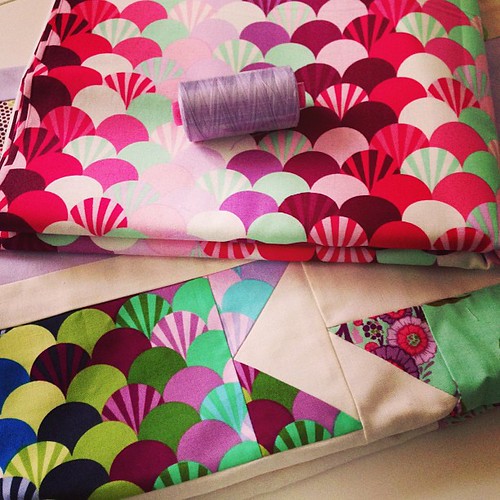
I finally purchased some Parisville fans in pomegranate to back my quilt! I also chose a variegated thread to quilt with. Now just to sandwich and baste!
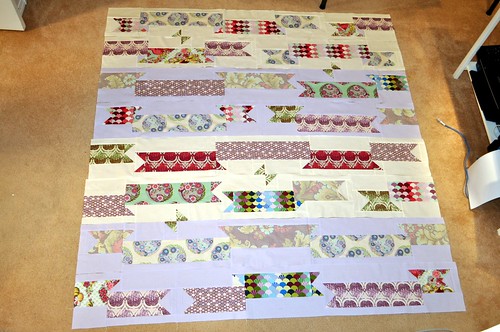
Here is a photo of the quilt top that was finished a couple years ago! It is a pattern by Quilt Dad for Free Spirit!
Tuesday, April 16, 2013
FLQS Progress
Painting with Antonio

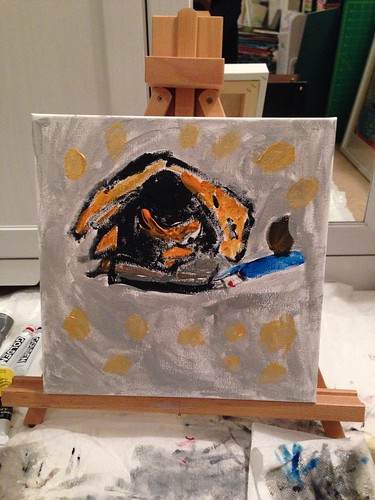
Yesterday I did a little painting with my son Antonio who is 4. He loves to draw and paint so I thought it might be fun to paint something with him.

He loves drawing shapes and using lots of colours.

I love the modern feel of this painting :)
Subscribe to:
Posts (Atom)