
I had the pieces for this bag cut and prepared for months now... I've been reading any and all blogs about how to go about this since there are many horror stories out there about this bag. Okay maybe not horror stories, but a lot of frustration. So I've been talking myself out of it for a while now.
Until now.... I decided just to get going and try.
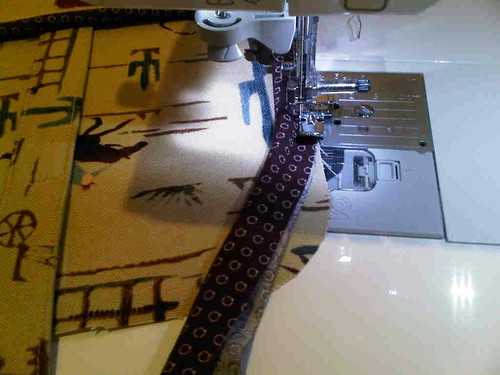
Instead of using basting tape to encase the cording, I simply basted it on while making sure it stayed flush with the edge, saving me a step :)
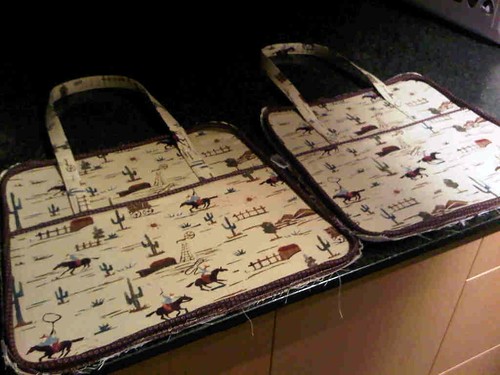
Here are the finished panels ready to attach to the bag. Next I sewed the zipper to the top panels, which wasn't a problem. I had read that it was quite difficult for some, but I've done many types of zippers over the years so I'm comfortable with them. Not a pro but not a problem.
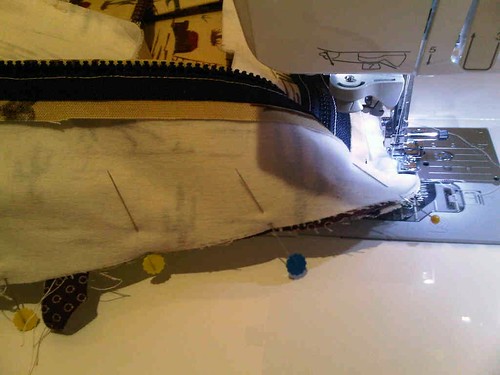
Next I machine basted the zipper panel to the main panels. This worked out okay for the first side but fitting the second side under was a bit awkward while trying to keep together. I ended up ditching all pins all together so I wouldn't poke myself.
On the next side I decided to hand baste.
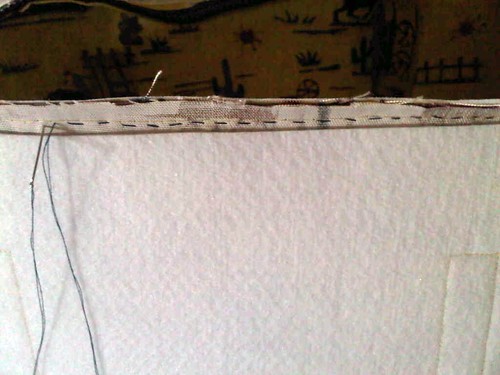
I really liked this method and will use it the next time I make this bag. Far easier than manuvering the panels under the machine. To this point I broke 3 needles. I would say they were all because I was pulling at the fabric while stitching. Try to avoid that and just let the machine feed it.

Sewing the main panels to the zipper panel was easier after basting and I just went slow. Often I would sew about 5 inches and check to make sure I was getting close enough to the cording, then start again. This is the longest part of the sewing process and you need to proceed slowly. I would suggest trimming your cording by 1/2" on each side on the outside pocket panels before sewing on the outside cording around the whole main panel. This reduces bulk in that portion of the seam.
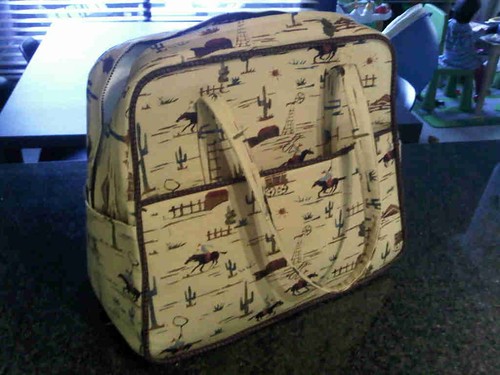
Yay! The exterior is finished!

I added pockets to the inside lining panels. Lots of blog postings suggest this too. A great addition :)

Now I'm just working on hand basting the lining to the exterior of the bag. I really love the way it looks and can't wait to start one in my "good" home dec prints! I will post a finished photo soon!
Visit Lynne at Lily's Quilts!


2 comments:
I LOVE it in the cowboy print. Great bag!
great work Trina, I love it! ;0)
Post a Comment